Simril 7 introduces Shadowheart, the half-elf Cleric of Shar from Baldur's Gate 3! Simril also brings back Warduke, the legendary mercenary for hire human fighter, and Yorven Springpaw, the resident murder bunny Harengon Barbarian Druid! Players have until Monday, December 11th at 12PM Pacific to complete their Simril 7 unlocks and objectives.
Shadowheart

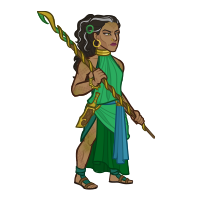
- A devoted cleric of Shar, Shadowheart agreed to have her memories wiped as part of a holy mission. Now its sole survivor, she must deliver a powerful relic back to her kin in order to win Shar's love and have her memories restored – but all the while, she is tormented by strange, painful magic that she struggles to understand.
Shadowheart is a Support and Healing Champion who joins her fellow Baldur's Gate 3 companions in fighting the transformation into a Mind Flayer. Once unlocked, you can find this Half-Elf Cleric in seat 6 opposite Asharra. Learn more about Shadowheart in her Champion Spotlight!
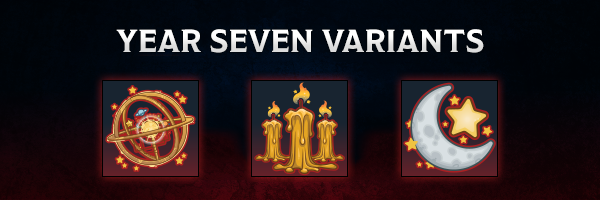
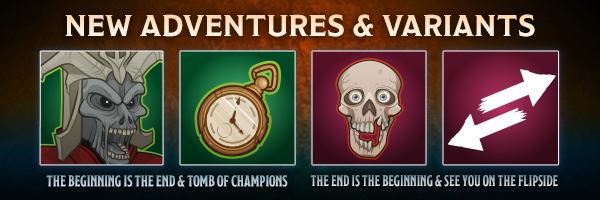
Year Seven Variants
Witness Our Adoration - Simril is ruined! Shadowheart is mad that someone has pilfered the food supplies!
- Shadowheart joins the formation (Slot 4). She can't be moved or removed.
- Only Shadowheart and Champions within two slots of her can deal damage.
- Getting to know Shadowheart: Shadowheart increases the damage of all Champions within two slots of her. Place your damage dealing Champions to take advantage of this!
- Reach Area 75.
Childhood Fears - Simril is ruined! A wolf has pilfered the food supplies!
- Shadowheart joins the formation (Slot 4). She can be moved, but not removed.
- A wolf also joins the formation. It's so scary that Champions next to it deal no damage with their normal attacks.
- Every 5 seconds, the wolf bites a Champion directly in front of it, dealing damage equal to 20% of the Champion's total health.
- Getting to know Shadowheart: Shadowheart heals Champions in the two columns ahead of her. Place her to protect your tanks and anyone else that might be getting hurt!
- Reach Area 125.
Duplicity without Duplicates - Simril is ruined! Someone has requests all the Champions have unique Dexterity scores!
- Shadowheart joins the formation (Slot 4). She can be moved, but not removed.
- Each Champion in the formation must have a unique DEX score.
- Getting to know Shadowheart: Shadowheart summons an Illusionary Duplicate in the same slot as the Champion with the highest DEX. The Duplicate buffs and heals nearby Champions similar to Shadowheart herself.
- Reach Area 175.
We would love to hear about your experiences in Idle Champions on the Idle Champions Subreddit, on the Steam forums, or on the Official Idle Champions Discord!