Well met!
We're back with the next installment of Tales of the Champions!
For the next two Tales adventures, Kalix embarks on a quest to hunt the legendary tarrasque, while Barrowin returns home to find multiple surprises lurking in the snow of Icewind Dale...
Completing the base adventures will unlock Kalix (Seat 5) and Barrowin (Seat 10), while completing the new variants will unlock Feats, Corrupted Gems, Gold Champion Chests, and an exclusive Skin!
Are you ready to take on the challenge? Read on to learn more!
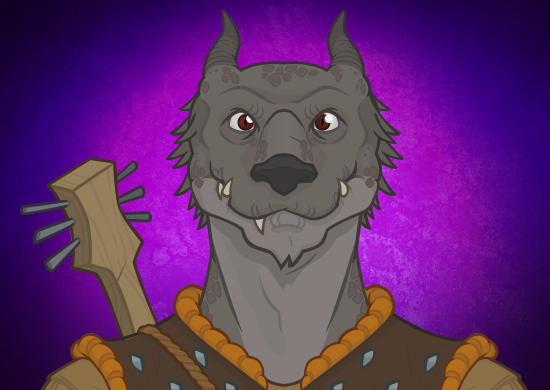
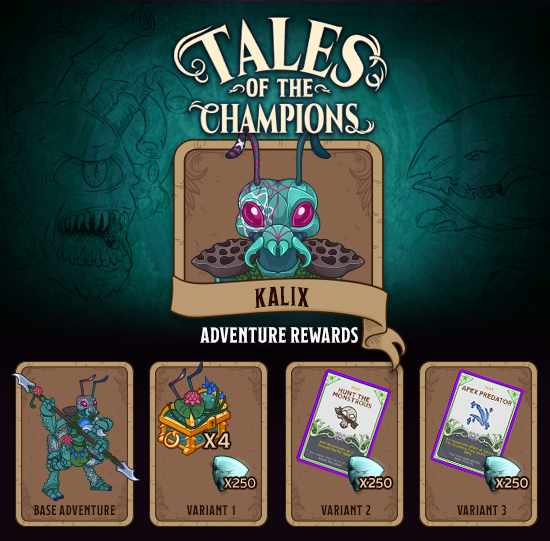 Kalix tests his skill as a hunter against the ultimate challenge - the legendary tarrasque.
Requirement: Must have completed a Tier 2 Variant in an Event.
Requirement: Must have completed a Tier 3 Variant in an Event.
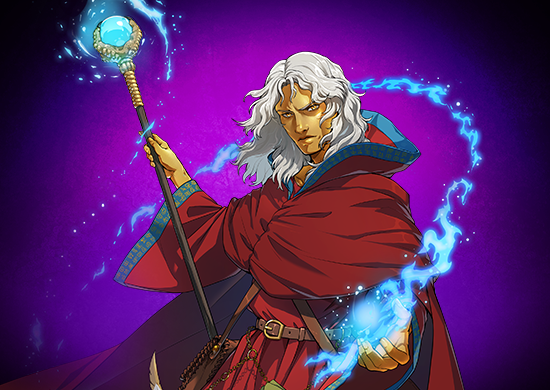
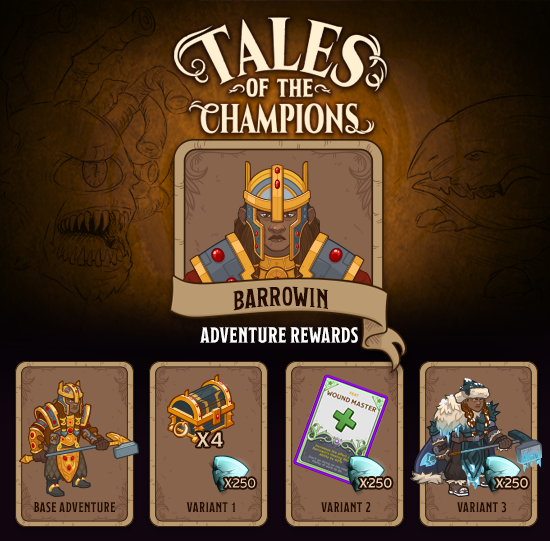 Barrowin and friends must save the people of Icewind Dale from the Cult of the Dragon!
Requirement: Must have completed a Tier 2 Variant in an Event.
Requirement: Must have completed a Tier 3 Variant in an Event.
Join our community on one of our official platforms and let us know what you think!
We're back with the next installment of Tales of the Champions!
For the next two Tales adventures, Kalix embarks on a quest to hunt the legendary tarrasque, while Barrowin returns home to find multiple surprises lurking in the snow of Icewind Dale...
Completing the base adventures will unlock Kalix (Seat 5) and Barrowin (Seat 10), while completing the new variants will unlock Feats, Corrupted Gems, Gold Champion Chests, and an exclusive Skin!
Are you ready to take on the challenge? Read on to learn more!
Finding the Path
Kalix tests his skill as a hunter against the ultimate challenge - the legendary tarrasque.
- Complete Area 250
- Rewards: Kalix Champion Unlock
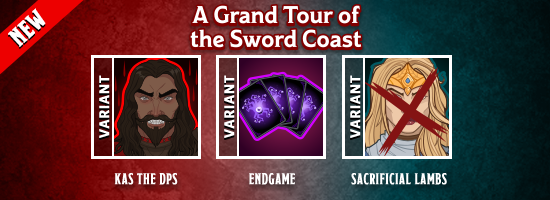
Variant 1: Finding the Monstrosities
Kalix tests his skill as a hunter against the ultimate challenge - monstrosities like the legendary tarrasque.- Kalix starts in the formation. He can be moved, but not removed.
- Only Kalix and Champions not adjacent to him can deal damage.
- You may only use Champions that are not a Standard Species. Standard species are Aasimar, Dragonborn, Dwarf, Elf, Gnome, Goliath, Halfling, Human, Orc, Tiefling, Half-Orc, and Half-Elf.
- 1-2 Monstrosities spawn with each wave. They don't drop gold nor count towards quest progress.
- Getting to know Idle Champions: Standard Species are the core species found in the Players' Handbook. Some Champions and variant restrictions care about including or excluding them!
- Complete Area 450
- Rewards: 4 Kalix Gold Chests and 250 Corrupted Gems
Variant 2: A Specific Species
Kalix and some specific friends test his skill as a hunter against the ultimate challenge - the legendary tarrasque.Requirement: Must have completed a Tier 2 Variant in an Event.
- Kalix starts in the formation. He can be moved, but not removed.
- When you add a Champion to the formation, remove all other Champions that don't share a species with it. Kalix remains in the formation.
- Boss enemies without segmented health have 25 armored health.
- Complete Area 1000
- Rewards: Kalix's Hunt the Monstrous Feat, which adds Monstrosities as a favored foe for Kalix, and 250 Corrupted Gems
Variant 3: Hunting the Path
Kalix tests his skill with a team of hunters against the ultimate challenge - the legendary tarrasqueRequirement: Must have completed a Tier 3 Variant in an Event.
- Kalix starts in the formation. He can be moved, but not removed.
- You may only use Champions with the Hunter role.
- Enemy speed is increased by 300%.
- Two Giant Fire Beetles join the formation. They just get in the way.
- Complete Area 1600
- Rewards: Kalix's Apex Predator Feat, which buffs Kalix's The Deadliest Prey ability, and 250 Corrupted Gems
Over & Under
Barrowin and friends must save the people of Icewind Dale from the Cult of the Dragon!
- Complete Area 250
- Rewards: Barrowin Champion Unlock
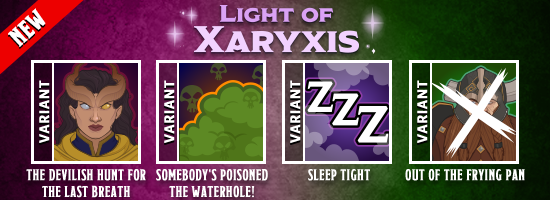
Variant 1: Speedy Strikers
Barrowin and her fast attacking friends must save the people of Icewind Dale from the Cult of the Dragon!- Barrowin starts in the formation. She can be moved, but not removed.
- You may only use Champions with a base attack cooldown of 4.6 seconds or less.
- Every time a Champion kills an enemy, all other enemies have their move speed and damage done increased by 10%, stacking multiplicatively up to 25 times and resetting when changing areas.
- Getting to know Idle Champions: After every base attack, Champions must wait an amount of time equal to their base attack cooldown before they can make another base attack.
- Complete Area 450
- Rewards: Barrowin Gold Chests and 250 Corrupted Gems
Variant 2: I Am The Law
Barrowin and her small friends must save the people of Icewind Dale from the Cult of the Dragon!Requirement: Must have completed a Tier 2 Variant in an Event.
- Barrowin starts in the formation. She can be moved, but not removed.
- You may only use Lawful and/or Dwarf Champions.
- An Overambitious City Guard joins the formation. He encourages Champions next to him to attack faster by reducing their base attack cooldown by 2 seconds.
- Complete Area 1000
- Rewards: Barrowin's Wound Master feat, which which buffs Barrowin's Healing Word ability, and 250 Corrupted Gems
Variant 3: Way Under
Barrowin and her fast attacking friends must save the people of Icewind Dale from the Cult of the Dragon!Requirement: Must have completed a Tier 3 Variant in an Event.
- Barrowin starts in the formation. She can be moved, but not removed.
- You may only use Dwarf, Fairy, Gnome, Goblin, Halfling, Kender, Kobold, and/or Plasmoid Champions.
- Enemies other than static bosses are increased in size by 50%.
- Enemies without segmented health have 4 armored health.
- Enemies (including those in boss areas) move 100% faster and deal a minimum amount of damage equal to 10% of the target's total health.
- Complete Area 1600
- Rewards: Hammer of the North Barrowin Skin and 250 Corrupted Gems
Campaign Feedback
What do you think about Tales of the Champions so far? We'd love your feedback!Join our community on one of our official platforms and let us know what you think!
- The Official Idle Champions Discord.
- The Official Idle Champions Subreddit.
- Follow us on Twitter, Facebook, Bluesky, or Instagram.
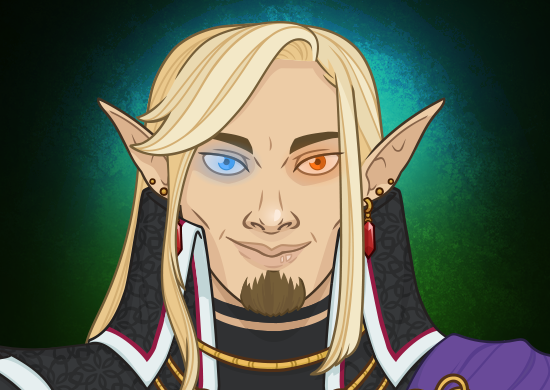
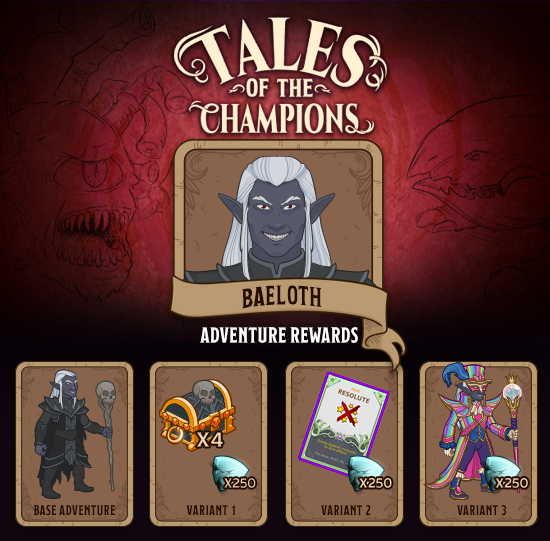 Baeloth co-hosts a zany arena spectacular to raise funds and spirits alike for astral elf refugees. When complications cause the show to go off-script, it's up to Baeloth to improvise and show everyone why he's the best in the business.
 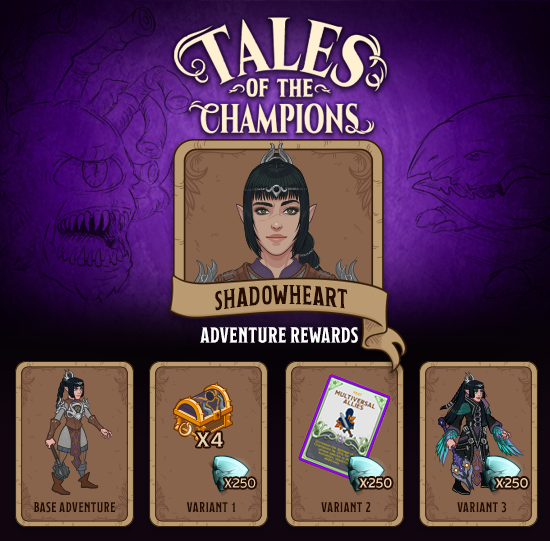 Shadowheart and her allies pursue a thief whose stolen prize is a heretical secret of Sel?nites and Sharrans alike. Their quest takes them through the streets of Sigil and into the magical world of Krynn, where they become embroiled in the machinations of Takhisis and Lord Soth.